Fire pits – everyone loves a campfire
At Llanblethian Orchards we spent the winter thinking about our orchard. Specifically how we could make it just that little bit more special for our summer open days.
After much deliberation we decided what it needed was a space at night where our customers could sit around a fire and enjoy a nice glass of cider, i.e. a fire pit!
Our main inspiration was the wonderful event the Hare and Hounds pub in Aberthin ran at our barn the other year. The photo on the right looks magical doesnt it 🙂
There is nothing like sitting around a campfire on a summers evening. Being mesmerised by the dancing flames, breathing in the perfumed wood smoke and listening to some tunes while enjoying some traditional cider in good company. Or perhaps i’ve been to one too many festivals!
I considered buying a small metal fire pit or re-purposed an old washing machine drum. for the purpose. The metal fire pits always rust and look tatty in no time. They also get red hot and could give someone a serious burn if they accidentally touched it. Not to mention set fire to the grass if we have another summer like 2008. As such I decided to make a double skin stone fire pit instead. The double skin means the outer layer will be cold to the touch even with a roaring fire inside. MUCH safer!
It was also a thinly veiled excuse to play with stone work, which I adore doing <3
Building our fire pit part 1, the base
Step 1 – Choosing our fire pit spot
First we need to know where to put our fire pit. This spot on the rear left looks good. It’s stepped back from the road and nice and sheltered 🙂
Step 2 – Building the footing
Our fire pit is a 2 meters diameter circle with a 40cm thick two skin wall. As such we need to dig out a footing for it 200mm deep and over 40cm wide.
We refilled the bottom 100mm with hardcore on the undisturbed clay and compacted it down with a post thumper. Tiring!
The 1/2 cubic meter of removed soil then had to be spread about. Took awhile!
Step 3 – reinforcing the concrete
Overkill really but the small concrete foundation is going to be reinforced with some steel.
It gives me a kick to think we have an iron circle protecting our fire pit. No bad mojo is getting in. No siree!
Step 4 – Concreting in the foundation
Not much to say here bar a massive thank you to Owen from Owen electrical for letting me borrow his cement mixer. Mixing 1/4 a cubic meter by hand would have been a nightmare!

Step 1 – Choosing our fire pit spot
First we need to know where to put our fire pit. This spot on the rear left looks good. It’s stepped back from the road and nice and sheltered 🙂

Step 2 – Building the footing
Our fire pit is a 2 meters diameter circle with a 40cm thick two skin wall. As such we need to dig out a footing for it 200mm deep and over 40cm wide.
We refilled the bottom 100mm with hardcore on the undisturbed clay and compacted it down with a post thumper. Tiring!
The 1/2 cubic meter of removed soil then had to be spread about. Took awhile!

Step 3 – reinforcing the concrete
Overkill really but the small concrete foundation is going to be reinforced with some steel.
It gives me a kick to think we have an iron circle protecting our fire pit. No bad mojo is getting in. No siree!

Step 4 – Concreting in the foundation
Not much to say here bar a massive thank you to Owen from Owen electrical for letting me borrow his cement mixer. Mixing 1/4 a cubic meter by hand would have been a nightmare!
Building our fire pit part 2, the walls
Step 5 – first course of stones and bricks
To build the circle to size we drive a stake into the centre vertically first.
Then lay out the first course of stones for the outside wall. The stone is weathered limestone from our orchard in Llanblethian.
Finally we lay out the inner course using class a engineering bricks.
Class a bricks are a traditional very strong brick used since the victorian era. They also absorb very little water. As such they are used as a poor mans fire brick substitute for bbq’s. In this build fire bricks would be a bad choice as they absorb water readily and as the pit is exposed would soon fail on use.
Step 6 – Building the inner circle
Next we build the inner circle up to height.
For this build we are going 5 courses high. This will give us a wall just below knee height. Which should keep little hands safely away from the fire 🙂
Step 7 – inner wall up to height
The inner wall is up the height. I had to hunch down inside the wall to build it. My back was killing me by this point!
A lot of the engineering bricks were salvaged from an old tandoori oven I made. They were as good as new, just proves how strong class a’s really are!
Step 8 – outer circle up to height
Got the outer circle up to height in a day.
I tried to put as many big feature stones in as I could to make it look nice.
I kind of messed up in the photo as I have a straight line going up in one of the joints as it’s two stones high. Ideally the stones should overlap the joints to make the wall stronger. hoo hum…
Managed to buckle an axle on my small trailer getting the stone from the orchard. More jobs to fix!

Step 5 – first course of stones and bricks
To build the circle to size we drive a stake into the centre vertically first.
Then lay out the first course of stones for the outside wall. The stone is weathered limestone from our orchard in Llanblethian.
Finally we lay out the inner course using class a engineering bricks.
Class a bricks are a traditional very strong brick used since the victorian era. They also absorb very little water. As such they are used as a poor mans fire brick substitute for bbq’s. In this build fire bricks would be a bad choice as they absorb water readily and as the pit is exposed would soon fail on use.

Step 6 – Building the inner circle
Next we build the inner circle up to height.
For this build we are going 5 courses high. This will give us a wall just below knee height. Which should keep little hands safely away from the fire 🙂

Step 7 – inner wall up to height
The inner wall is up the height. I had to hunch down inside the wall to build it. My back was killing me by this point!
A lot of the engineering bricks were salvaged from an old tandoori oven I made. They were as good as new, just proves how strong class a’s really are!

Step 8 – outer circle up to height
Got the outer circle up to height in a day.
I tried to put as many big feature stones in as I could to make it look nice.
I kind of messed up in the photo as I have a straight line going up in one of the joints as it’s two stones high. Ideally the stones should overlap the joints to make the wall stronger. hoo hum…
Managed to buckle an axle on my small trailer getting the stone from the orchard. More jobs to fix!
Building our fire pit part 3, the capping
Step 9 – templating the wedges
For the wall capping I decided on stone wedges touching each other with no mortar inbetween.
As the mortar would be suspended between the walls it would be liable to fail and fall in. I decided a no mortar approach would last longer and look better.
As luck would have it the wonderful toy shop for stone masons that is RP Williams (a dangerously good place to spend money LOL) had a second hand 4m sandstone stone circle for sale for £50. All I need to do is recut it… YEAH all I need to do LOL…
Step 10 – cutting stone wedges
Hiring this bad boy was a real PITA.
Hell of a piece of kit mind. It did it all in a very cold and messy day flat.
Biggest damn saw I’ve ever used, made my dad’s eyes come out on stalks when he saw the size of it LOL.
Step 11 – laying out the wedges
We are laying out the stone wedges to ensure they all line up nicely as we cut them here. Any cuts that are wonky are re-cut as we go.
Step 12 – cutting final keystone to fit
The final wedge is custom cut to fit.
Even with a piece of kit like a masonry saw bench you are going to have to cut the final ‘keystone’ wedge especially as you will never get each wedge within a fraction of a mil to make it line up by maths.
If you are wondering how to calculate the angle on the wedges it’s O level maths 😉
We know the diameter of the circle both inside and outside wall. We’re leaving a drip edge each side as well so taking that into account we know the inside and outside edge diameters of the capping circle. From this we can work out the circumferences. We then divide by the number of wedges and we have the dimensions. Simples!

Step 9 – templating the wedges
For the wall capping I decided on stone wedges touching each other with no mortar inbetween.
As the mortar would be suspended between the walls it would be liable to fail and fall in. I decided a no mortar approach would last longer and look better.
As luck would have it the wonderful toy shop for stone masons that is RP Williams (a dangerously good place to spend money LOL) had a second hand 4m sandstone stone circle for sale for £50. All I need to do is recut it… YEAH all I need to do LOL…

Step 10 – cutting stone wedges
Hiring this bad boy was a real PITA.
Hell of a piece of kit mind. It did it all in a very cold and messy day flat.
Biggest damn saw I’ve ever used, made my dad’s eyes come out on stalks when he saw the size of it LOL.

Step 11 – laying out the wedges
We are laying out the stone wedges to ensure they all line up nicely as we cut them here. Any cuts that are wonky are re-cut as we go.

Step 12 – cutting final keystone to fit
The final wedge is custom cut to fit.
Even with a piece of kit like a masonry saw bench you are going to have to cut the final ‘keystone’ wedge especially as you will never get each wedge within a fraction of a mil to make it line up by maths.
If you are wondering how to calculate the angle on the wedges it’s O level maths 😉
We know the diameter of the circle both inside and outside wall. We’re leaving a drip edge each side as well so taking that into account we know the inside and outside edge diameters of the capping circle. From this we can work out the circumferences. We then divide by the number of wedges and we have the dimensions. Simples!
Our finished fire pit
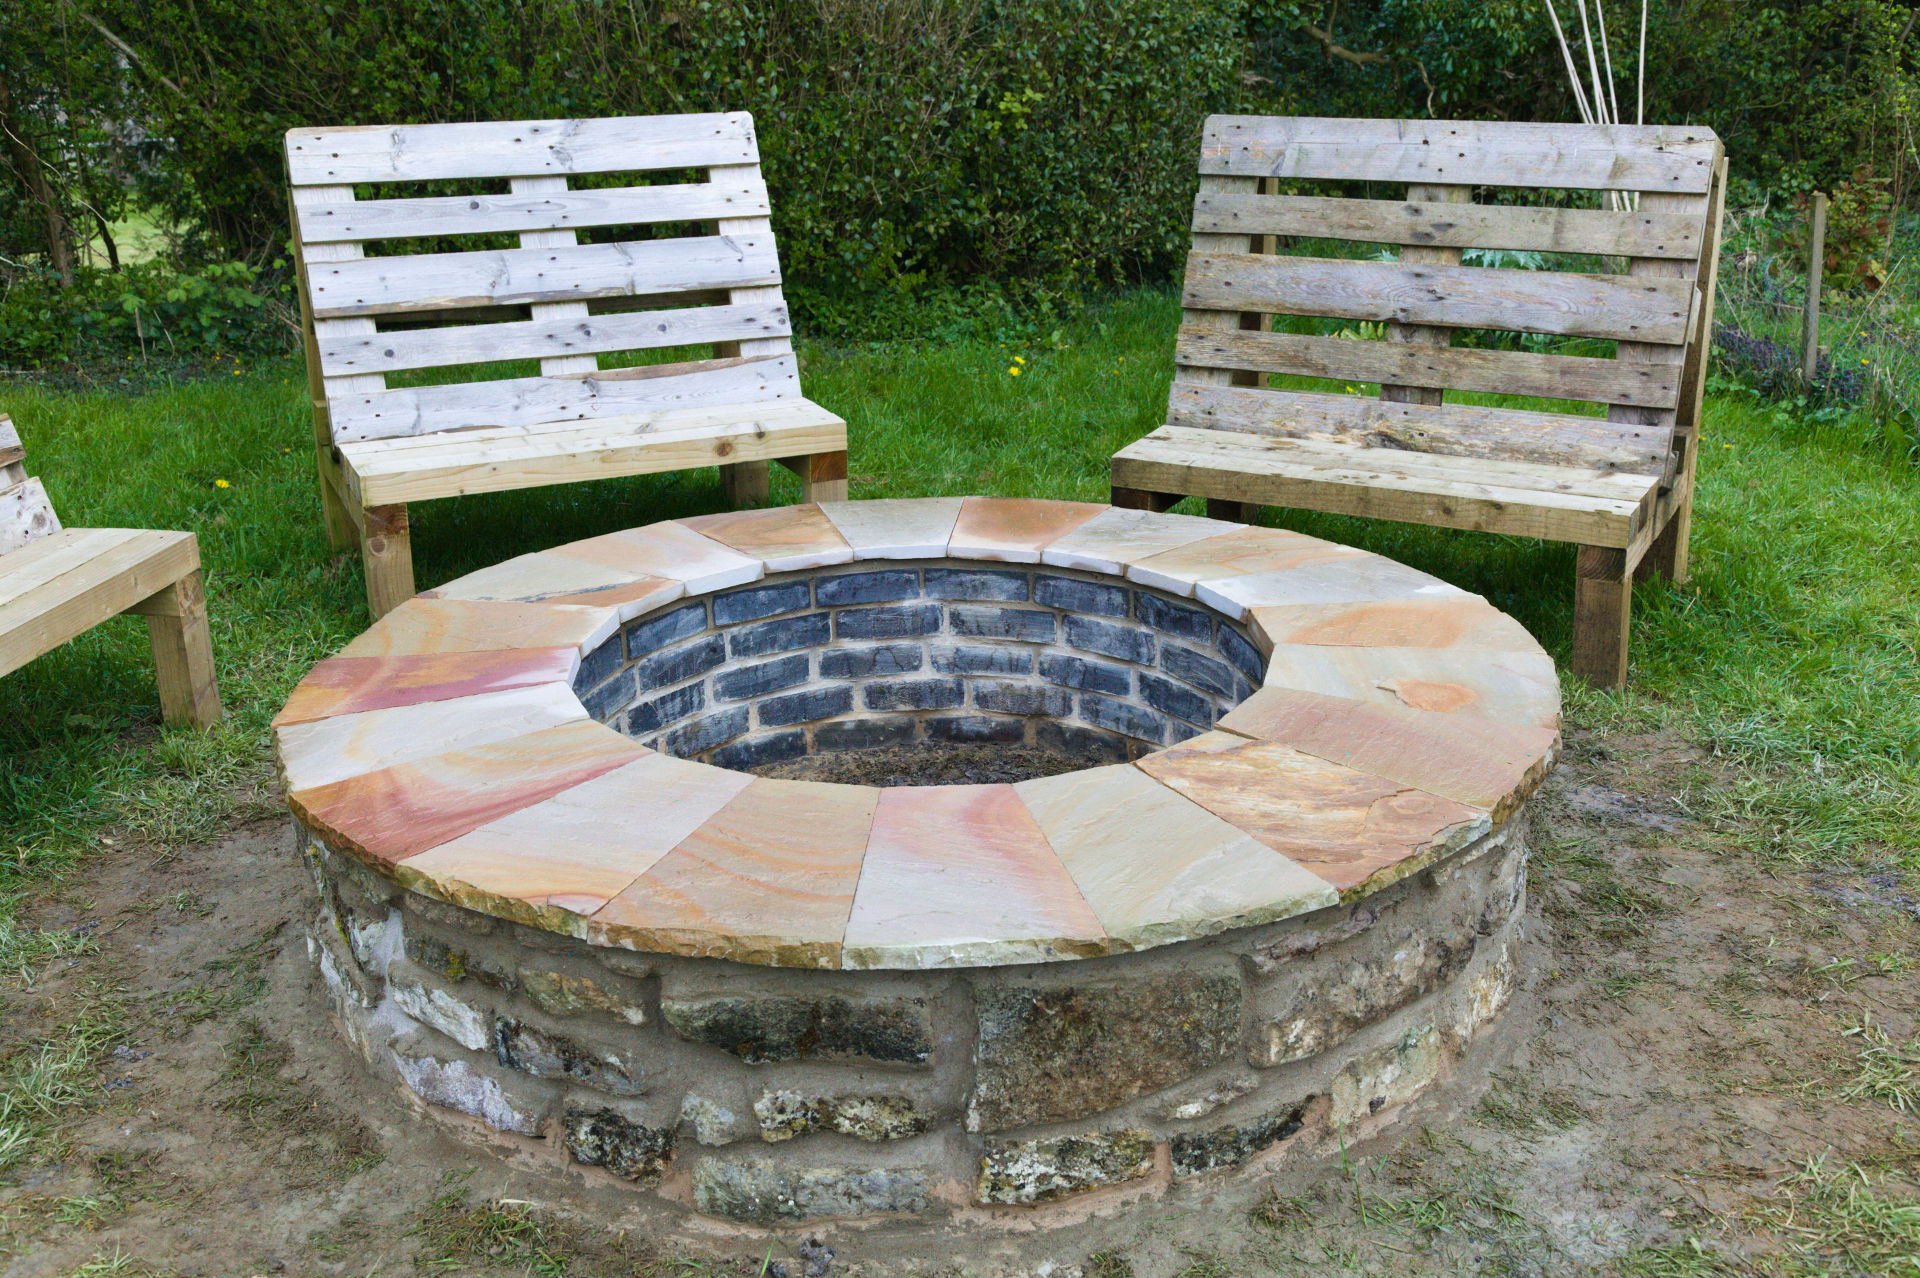
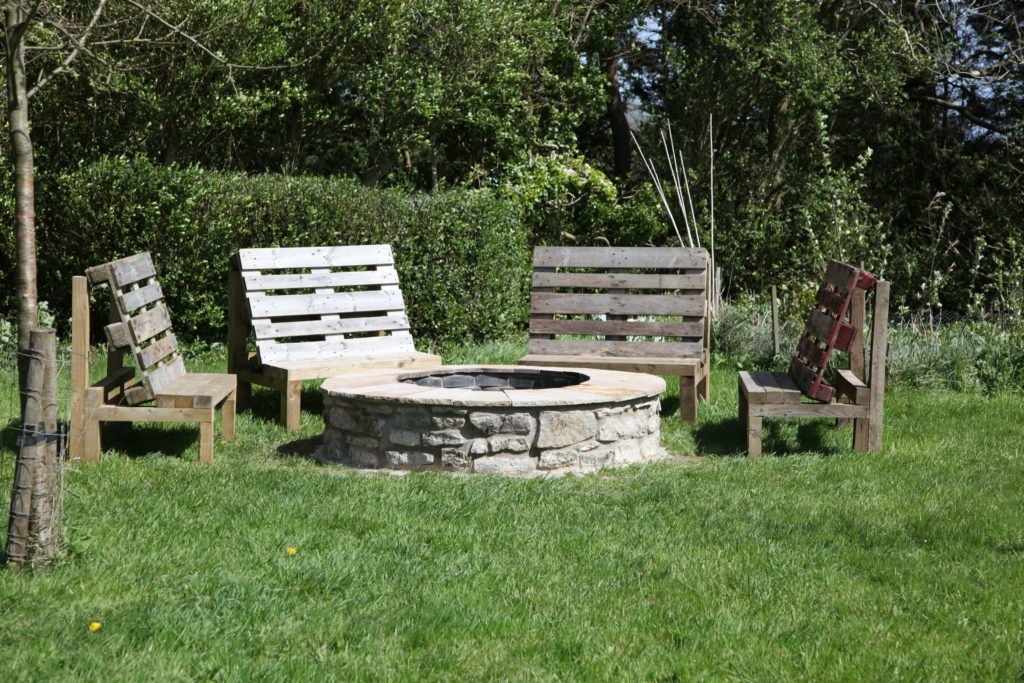
Have to say im really chuffed how it has turned out.
Theres enough room to use it as a table when the fire pit is not in use / low. It also provides a nice focal point for the orchard for people to congregate around.
The capping slopes outwards to allow water to drain away from the fire pit so it doesnt put it out if it rains.
Going forward the next step is to try and get some low voltage lights around the place to make it more welcoming at night.
If you are looking for stone to make one yourself do take a look at RP Williams they are awsome and my mate Owen at Owen electrical is a dab hand at low voltage garden lights as well 😉